Installation Instructions for
EMSPowered MR2 Intercooler Kit
Contents of package:
1 x Intercooler
1 x block off plate
1 x fan shroud
1 x 90 degree stainless elbow
1 x “S” shaped stainless pipe
1 x one piece stainless coldpipe (which clears the TRD bar)
5 x silicone couplers (various sizes)
10 x clamps
1 x SPAL fan
Various mounting hardware
Installation:
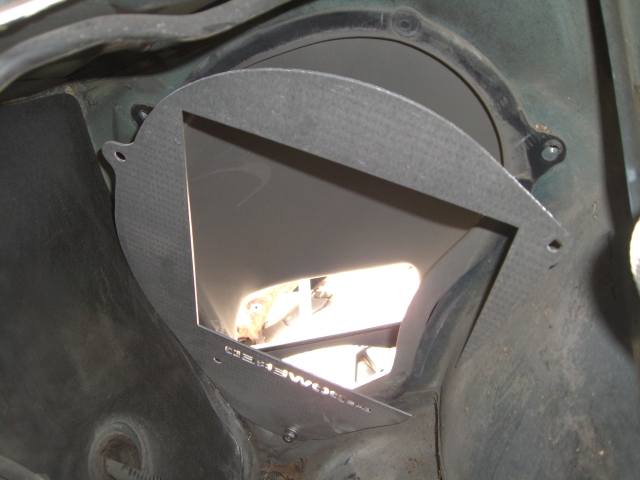
1) Place the block off plate over the side vent and line the holes up. Use one 10mm screw to secure the bottom hole as pictured below. Tighten it while still leaving it slightly loose to where you can move the block off plate around a little in order to line up the other holes if necessary.

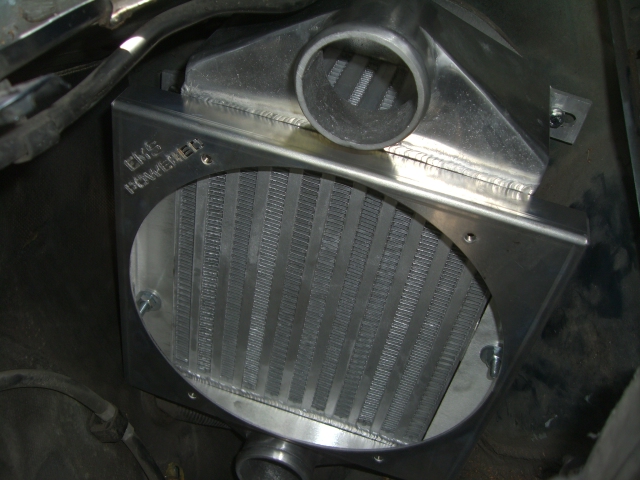
2) Now take the intercooler and line up the two mounting tabs with the two upper holes on the block off plate. Carefully line up one hole at a time and use two 10mm screws to mount the intercooler. Thread the screws in only half way. Leave them loose for now.


3) Now it is time to mount the fan shroud. This may be difficult for those of you that have big hands. There are 3 mount holes on the fan shroud that mount to the 3 tabs on the intercooler. Using 3 screws, 6 washers and 3 nuts, mount the fan shroud to the intercooler. Remember that you have left the intercooler loose, so you can move the intercooler up/down/left/right to help line up the fan shroud.
4) Tighten all of the screws/nuts for the fan shroud. Now go back and tighten the two screws that hold the intercooler onto the car. You should be able to reach them easily with an extension on your ratchet.


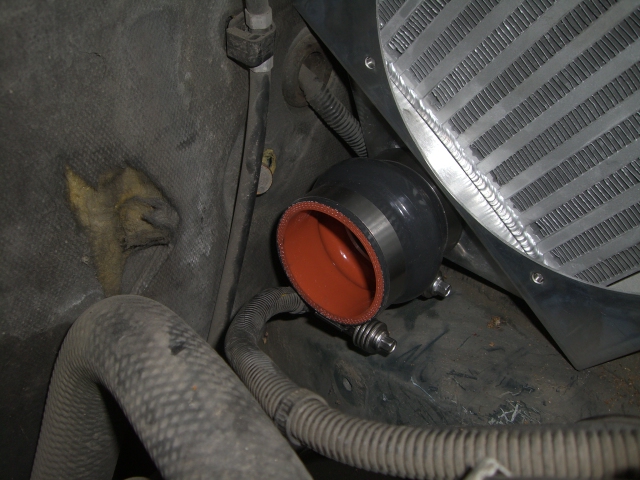
5) Now secure a silicone coupler onto the lower intercooler port, and tighten the clamp which connects it to the intercooler.
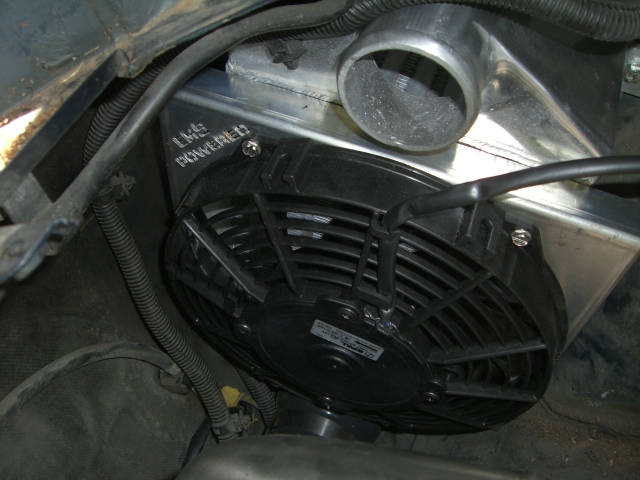
6) Using 4 provided screws, mount the SPAL fan to the fan shroud.
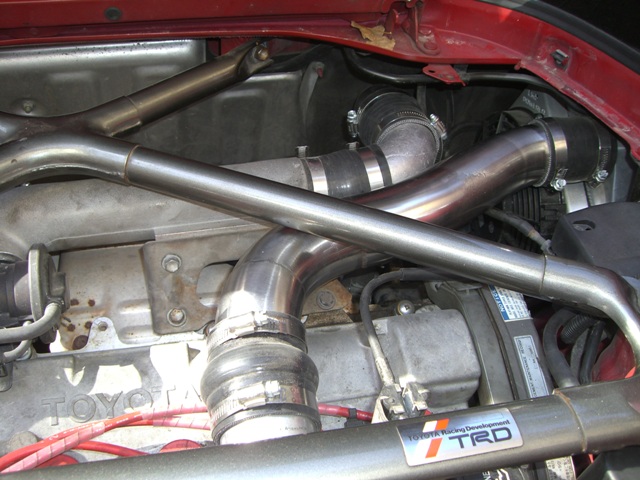
7) You can now install all of the piping. Keep in mind that you have a lot of room for adjustment on the pipes. A good rule of thumb is to place the couplers, clamps and pipes on, then adjust the pipes to where you are happy with the fit, then tighten the clamps down one by one, while double checking the fitment of the pipe after tightening each clamp incase the pipe or couplers have moved.
Here are a few pictures of the final installation that you can use as a reference to make sure you got everthing right:


Recent Comments